
Hi All! Welcome to the second of four treat box tutorials using Close To My Heart's Create Kindness Card Kit. These are the four treat boxes that I'll be teaching you to create over the next few days. We've already made the triangle box. If you missed that tutorial, you can find it here.

Today, we'll be making this box together:

This might be my favorite of the four! It's very simple to make, though not an easy tutorial to write. (I really do need to start making videos, I think!)
Here's what I used for this project:

So lets get started!


When you've finished scoring, your card base should look like this. (I'm showing it from the back so you can see the score lines better.)

Next, fold along all the score lines, EXCEPT the pre-scored 3-inch score line. DO NOT fold on that line. Use a bone folder to burnish the score lines and make crisp creases.

Now along the horizontal score lines cut up to the vertical score lines on each side, remembering to ignore the pre-scored line at 3 inches.

With the front of your card base facing the table, add your favorite adhesive (I'm using my ATG gun) to the left and right flap edges at the top of the box. Fold in the flaps like this:

Now turn the box over so that the front of the card base is facing you.

Add adhesive from the bottom most edge up to (without going over) the 7/8-inch score line, between the two flaps. (Don't go over onto the flaps or the score line or it could get messy later.)

Now turn the box over so that the front is facing your work surface and fold from the second score line (the 1 3/4-inch line) from the bottom so that the bottom edge (the one with adhesive) meets the bottom of your two flaps just above the score line. (It should look like the picture above.)

Next, fold the box one up more time so that the bottom edge with the adhesive is now sticking to the bottom of the area that has the two folded flaps. (It should look like the picture above.)
Now unfold the box and you should have something that looks like this:

I wanted my recipient to be able to open and close the box without destroying it, so I chose to seal both ends with repositionable adhesive.
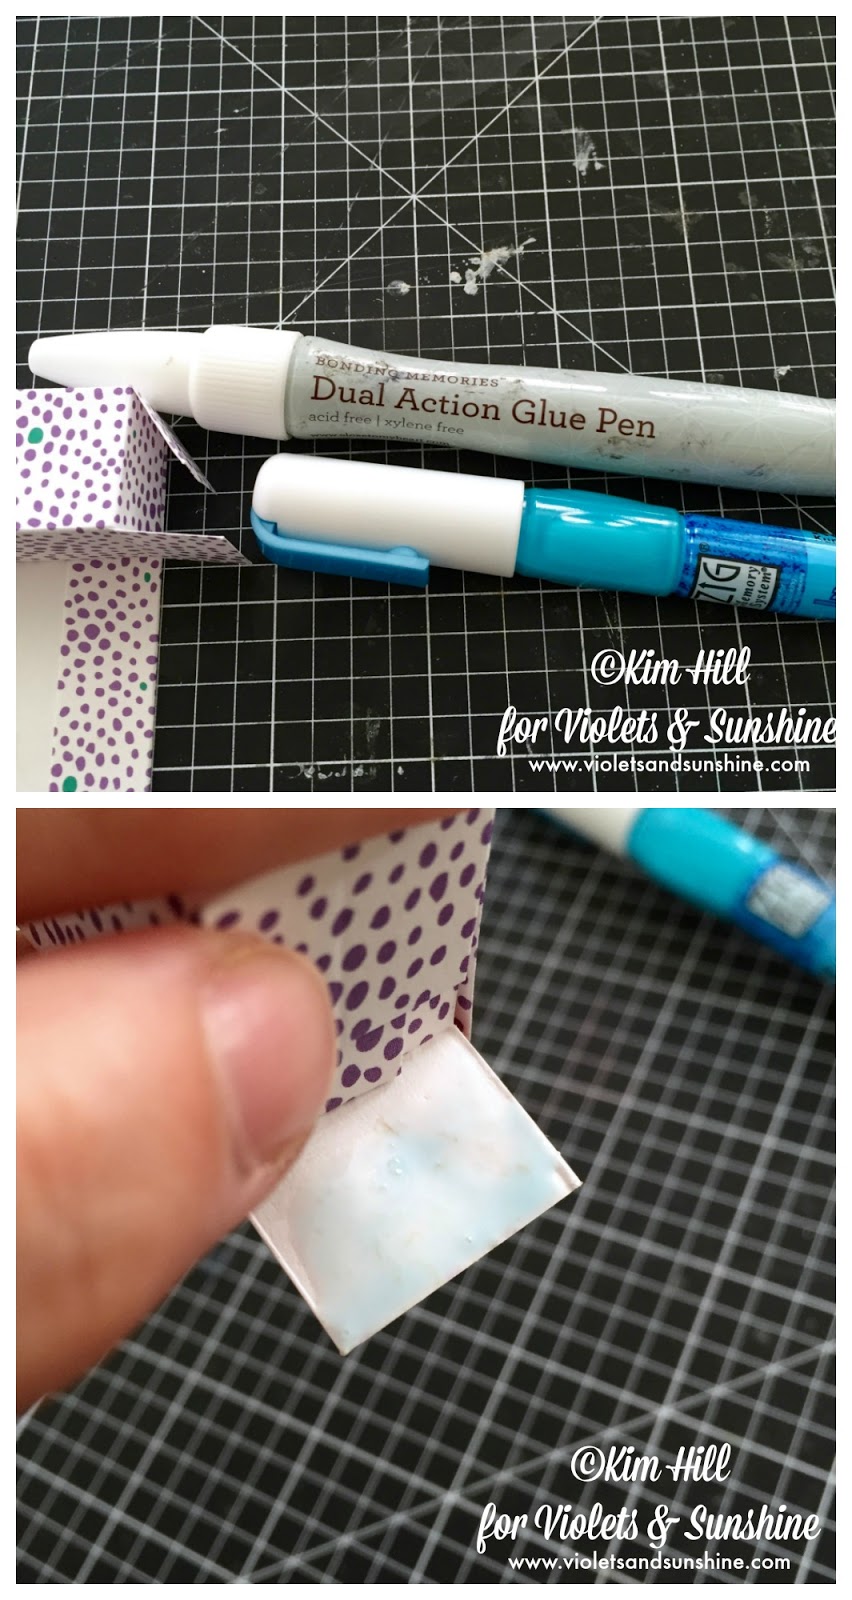
You could use Close To My Heart's Bonding Memories glue or Zig Two-Way glue. They are formulated very similarly. (I used Bonding Memories on this project.) Both are wet adhesives that are blue when they come out of the bottle (or pen in this case). While blue, the glues will bond two surfaces permanently. However, if you let the glue air dry until it's clear before putting your surfaces together, the glue becomes a repositionable adhesive, allowing you to pull apart and re-stick the surfaces as you wish. So I put my glue on the top flaps on both ends of the box and set it aside to dry while I worked on the stamped image. (You could use a permanent adhesive, like ATG tape, if you would rather.)

Next, stam the image for the front of the box on the white cardstock circle in Archival Black Ink, and give it a couple of seconds to dry. Then color them image using the medium of your choice. (I colored this image using my PrismaColor Pencils.) Once you finish coloring, add a bit of foam tape or other adhesive to the back of the image. Now, add your image to the front of the box, covering up the white space between between the folded flaps.

Once the glue has dried on your box, fold up one end of your box and fill it with goodies. (I went with 2 Rolos. I think I could have fit 3 if I had stacked them.) Then seal up the that end of your box and it should look like this:

And there you have it!
Here's a look at the box we just made with the original:

I hope you enjoyed this tutorial! Stay tuned for part 3 of our creating kindness series.
And have fun creating and sharing kindness wherever you go this weekend!


Darling. Easy to follow directions and the photos really help. I like the photos over video because I can compare to my project and just scroll down for each step. But I think if you made videos I would love that too! Well-done. I am anxious to try this.
ReplyDeleteI think this is my favorite kind too! I am going to try one of these tomorrow morning!
ReplyDelete