The Marketplace @ Violets & Sunshine

Showing posts with label #creatingkindness. Show all posts

19 September 2016

A Short Tutorial in Creating Kindness (part 3)


Hi All! Welcome to part three of our four part tutorial series on Creating Kindness using the Close To My Heart's limited edition Create Kindness Card Kit. If you missed the first two tutorials, you can find them here and here.

Today we will be making this box:


Here are the supplies that I used for this project:

So let's get started!
Begin by using your paper trimmer or scissors to cut the card base in half along the pre-scored score line.

You will be left with two 3x3-inch squares of cardstock.

Next, score on of the squares of cardstock at 5/8-inch on all four sides. When you're finished, set it aside. This will be the BASE of your box.

For the top, you will want to use a piece of cardstock (I just used the box base) as a shim between the edge of your cardstock square and the wall of your scoring tool. This will shift the square you are currently scoring to the right just a smidge (maybe 1/32 of an inch if that). Score at 5/8-inch then rotate your cardstock 90 degrees and score at 5/8-inch until you have scored all four sides of the lid, leaving the shim in place each time you score. This actually allows you to fit the lid to the box snugly, but without warping the box base. It takes some coordination, but it's worth the effort.

Once you finish scoring your box top, use your thumb notch punch or a circle punch to remove a very shallow arc from one of the sides. Center your arc in the middle of the side. That will be the front of your box.
Next, fold along all of the scorelines, using your bone folder to reinforce your creases so that they are nice a crisp.
When you finish folding along the scorelines, use your scissors to cut along the score lines on two sides of the box (one of which should include the arc you cut earlier). [NOTE: I find it easier to see the scorelines on the back of the cardstock, so I usually turn it over for this step.]  Cut straight along the score line from the edge of the box to the intersecting scoreline. You will create four square tabs--one at each corner. You will want to cut again at a slight angle (taper) on the inside and outside edges of each tab to make the box fit together smoothly. (See the picture above.)

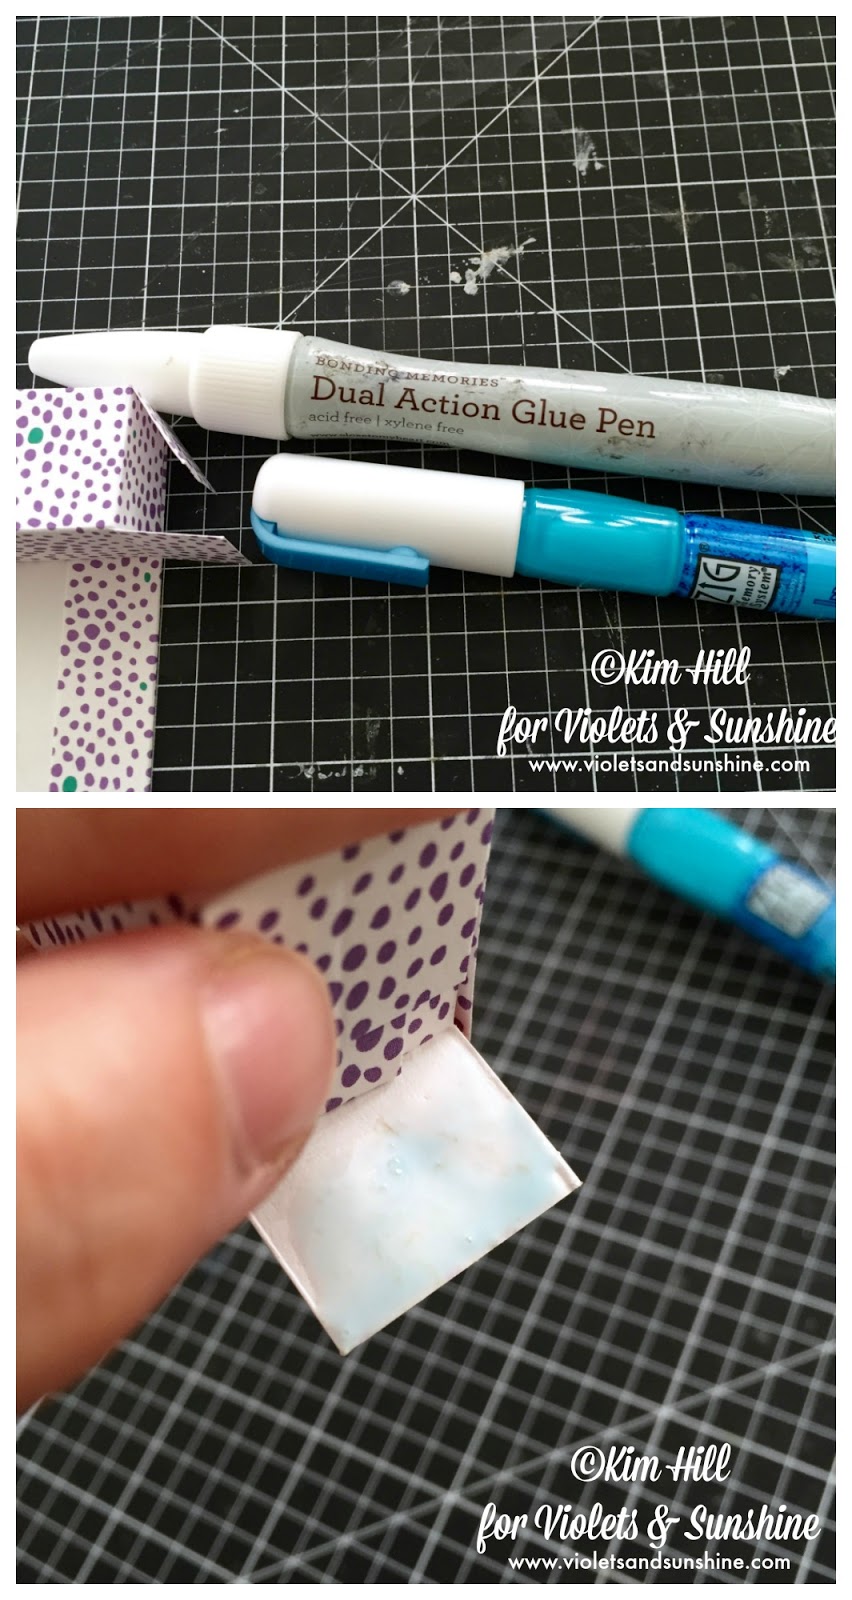
When you've finished cutting, turn you paper back over so that the front is facing you and add your adhesive of choice (I used ATG tape) to the four tabs. 

Begin putting your box together by folding the tabs and attaching them to the rectangular flaps creating 90 degree angles.

NOTE: when you fold your flaps in around the thumb notch (arc), you may find that they hang over a little. You will want to cut off any paper hanging over so that the arc is smooth. (See photo below.)

Finish attaching all your tabs so that your box top looks like this:


Next, take your second square of cardstock and repeat the steps above (omitting the thumb notch) to create the box base.

Add your treats to your box. (I managed to fit two Hershey Nuggets in it, though it was a little snug.) Place the lid on top and it should look like this:


Next, stamp your greeting on one of the white circles of cardstock and color it as you wish. I used Black Archival ink and PrismColor pencils for this one.

Pop your greeting onto the top of the box using foam tape. Make sure that the bottom of your greeting faces the side of the box with the thumb notch as pictured above.

And that's it!

Here's another look at the box we just made and the original project:

I hope you've enjoyed this tutorial. Stay tuned for the fourth and final tutorial in our Creating Kindness treat box tutorial series.

Until then, have a wonderfully creative day!


17 September 2016

A Short Tutorial In Creating Kindness (part 2)

Hi All! Welcome to the second of four treat box tutorials using Close To My Heart's Create Kindness Card Kit. These are the four treat boxes that I'll be teaching you to create over the next few days. We've already made the triangle box. If you missed that tutorial, you can find it here.


Today, we'll be making this box together:

This might be my favorite of the four! It's very simple to make, though not an easy tutorial to write. (I really do need to start making videos, I think!)

Here's what I used for this project:


So lets get started!

Begin by placing your card base in your scoring board vertically and, with your stylus, score at the 5/8-inch and 2 3/8-inch marks along the 3-inch side.
Next, rotate your card base 90 degrees so it is horizontal on your score board. Score at the 7/8-inch, 1 3/4-inch, 2 5/8-inch, and 3 1/5-inch marks.

When you've finished scoring, your card base should look like this. (I'm showing it from the back so  you can see the score lines better.)
Next, fold along all the score lines, EXCEPT the pre-scored 3-inch score line. DO NOT fold on that line. Use a bone folder to burnish the score lines and make crisp creases.

Now along the horizontal score lines cut up to the vertical score lines on each side, remembering to ignore the pre-scored line at 3 inches. 
With the front of your card base facing the table, add your favorite adhesive (I'm using my ATG gun) to the left and right flap edges at the top of the box. Fold in the flaps like this:
Now turn the box over so that the front of the card base is facing you.
Add adhesive from the bottom most edge up to (without going over) the 7/8-inch score line, between the two flaps. (Don't go over onto the flaps or the score line or it could get messy later.)
Now turn the box over so that the front is facing your work surface and fold from the second score line (the 1 3/4-inch line) from the bottom so that the bottom edge (the one with adhesive) meets the bottom of your two flaps just above the score line. (It should look like the picture above.)
Next, fold the box one up more time so that the bottom edge with the adhesive is now sticking to the bottom of the area that has the two folded flaps. (It should look like the picture above.)

Now unfold the box and you should have something that looks like this:
I wanted my recipient to be able to open and close the box without destroying it, so I chose to seal both ends with repositionable adhesive.
You could use Close To My Heart's Bonding Memories glue or Zig Two-Way glue. They are formulated very similarly. (I used Bonding Memories on this project.) Both are wet adhesives that are blue when they come out of the bottle (or pen in this case). While blue, the glues will bond two surfaces permanently. However, if you let the glue air dry until it's clear before putting your surfaces together, the glue becomes a repositionable adhesive, allowing you to pull apart and re-stick the surfaces as you wish. So I put my glue on the top flaps on both ends of the box and set it aside to dry while I worked on the stamped image. (You could use a permanent adhesive, like ATG tape, if you would rather.)
Next, stam the image for the front of the box on the white cardstock circle in Archival Black Ink, and give it a couple of seconds to dry. Then color them image using the medium of your choice. (I colored this image using my PrismaColor Pencils.) Once you finish coloring, add a bit of foam tape or other adhesive to the back of the image. Now, add your image to the front of the box, covering up the white space between between the folded flaps.
Once the glue has dried on your box, fold up one end of your box and fill it with goodies. (I went with 2 Rolos. I think I could have fit 3 if I had stacked them.) Then seal up the that end of your box and it should look like this:
And there you have it!

Here's a look at the box we just made with the original:

I hope you enjoyed this tutorial! Stay tuned for part 3 of our creating kindness series.

And have fun creating and sharing kindness wherever you go this weekend!