The Marketplace @ Violets & Sunshine

Showing posts with label august stamp of the month. Show all posts

12 August 2014

What a hoot!

Hi folks! Just wanted to share a little slider swap card I made using Close To My Heart's August Stamp Of The Month: What A Hoot, and featuring the new Whimsy colors: Pixie, Canary, Flaxen, Glacier, and Thistle.

For this card, I used Glacier cardstock, patterned paper from the Paper Fundamentals Whimsy Assortment, and White Daisy cardstock for the front and slider.

The owl is stamped in Flaxen Exclusive Ink, with Thistle wings. Her eyes are Glacier, the flowers are Pixie and the crown is Canary. The wings and crown are fussy cut and attached with glue dots. The slider pull is made from the new Slate Diagonal Striped Ribbon and attached using the new Mini Stapler.

Here is a of close-up:

Here is the inside sentiment in Glacier Exclusive Ink:

And here is the lot that I made for the swap:

Love the new colors, don't you? Hope you enjoyed the slider!


12 October 2012

Kraft-y Hearts' October Blog Share (Day 3)


Celebrating the October Stamp Of The Month by Close To My Heart


Hi Friends! It's Day 3 of our Kraft-y Hearts' Blog Share. I hope you have been inspired to go out and create beautiful things!

Today's project is my favorite of the 3, I think. Again, it would make a nice gift for a hostess or a teacher, or just a friend who could use some extra Christmas tags. (And really, who couldn't? I'm forever running out of tags this time of year!)


This little tag wallet measures 4x3 inches when it's closed and 4x12 inches opened. The base is Colonial White cardstock topped with patterned paper from the Pear & Partridge paper pack. But my favorite thing about this little wallet is the belly band. The band itself is a 1x8-inch strip of Cocoa cardstock. I then added this cute little flower I created using the CTMH Art Philosophy Cartridge. (Don't worry, Artiste gets used in this project, too!) To make the flower, I cut "flower 7" (p. 39) 5 times  in graduating sizes at 1/4-inch increments (from 1 to 2 inches) using Cranberry cardstock. I inked the edges of each layer with Ruby pigment ink to hide the white core. I also used my bone folder to add score lines to the back of each layer and then inked the raised edges in Ruby pigment ink to give the flower more dimension. I curled the petals under  before stacking them together, rotating each layer so that it was slightly off-centered from the one beneath it. I then cut 3 leaves (2 at 1 3/4-inches and 1 at 1 1/4-inches) using the "petal 2" cut (p. 59). The leaves are cut from Olive cardstock and inked with Olive pigment ink. (The mini pigment pads are perfect for inking around the edges of small motifs!) I layered the leaves and attached them to the back of the flower. I then attached the whole thing to the belly band. (When you do this, make sure there is no adhesive on the flower that will attach it to the wallet. As you can see in the photo below, it will tear the paper!) I then used Opaques Pearl Adhesive Gems to add a center to the flower and attached a Colonial White cardstock tag that was cut at 1 3/4-inches using the Artiste cartridge (p. 37). I stamped A Very Merry Christmas on the tag using Cranberry Exclusive ink and edged it in Cocoa pigment ink


Here's what the wallet looks like when you open it up:


The library pockets are from the Artiste cartridge (p. 47), and are cut at 3 inches from Pear & Partridge paper. They are perfect for holding the little tags. The tags are cut from Colonial White cardstock using the measurements given on the Very Merry Christmas stamp set. To save time, I used the auto fill feature on my Cricut and had it cut as many of each tag as it could on one sheet of paper. This gives you a lot of tags to work with! The Christmas tree tag to the far right is stamped in Olive and Cranberry Exclusive inks. The other three shapes are stamped with those two and Chocolate Exclusive inks. (For some reason, I didn't like the Christmas tree stamped in Chocolate. You might though!) The two tags on the right are cut with holes in the top. For the two on the left, I added holes with my Crop-a-dile. I was planning to add gold thread, but am out of it. (ugh!) So that will have to wait. I'll be making another one of these using Kraft cardstock and bakers twine. Can't wait to see how it turns out! 

Here is a picture of the tags in their pockets:


I hope you enjoyed the blog share this month. Don't forget to stop by the Bungalow for beautiful inspiration from Lynn! 


31 August 2012

A Little Weekend Mojo

Are you ready for the long weekend? Have some crafty plans? Just thought I'd throw out a little inspiration for the weekend while I played along with the Mojo Monday challenge:


Here are a couple of cards I did based on the square pattern:


I'll give you the particulars for the "Pocket Full of Smiles" card here. If you would like to see "You Make Me Smile" up close and read about it, please visit me at The Feast.


For this 4x4-inch card, I used kraft cardstock for my base and the Dakota B&T paper pack for the rest. 


For the front, I cut barn red cardstock to 3 3/4-inch square, and did tone-on-tone stamping with a flourish from the Baroque Boarders August Stamp Of The Month set in Barn Red exclusive ink. The flags are cut from the Dakota papers and embellished with a pearl badge button from the Wrangler assortment pack.

The pocket was stamped using the Rugged Dude my acrylix stamp set. To make the pocket, I first did a 4th generation reverse stamp on white daisy cardstock using Outdoor Denim exclusive ink. I then flipped the stamp to the "right" side and stamped a second generation stamp in the same blue. The stitching is a first generation stamp in Chocolate exclusive ink. I used little antiqued gold brads from the Metals assortment for the rivets on the pocket, cut it out and popped it up with foam adhesive. Here's a close up:


I tucked a little tag inside the pocket for some fun. The tag is cut from Dakota paper and kraft cardstock and measures 2x7/8-inches overall. I used a little Burlap ribbon for the pull, and stamped the sentiment (which is from one of the exclusive Cricut Artiste collection stamp sets) in Barn Red exclusive ink. I added some tiny staples for added interest.


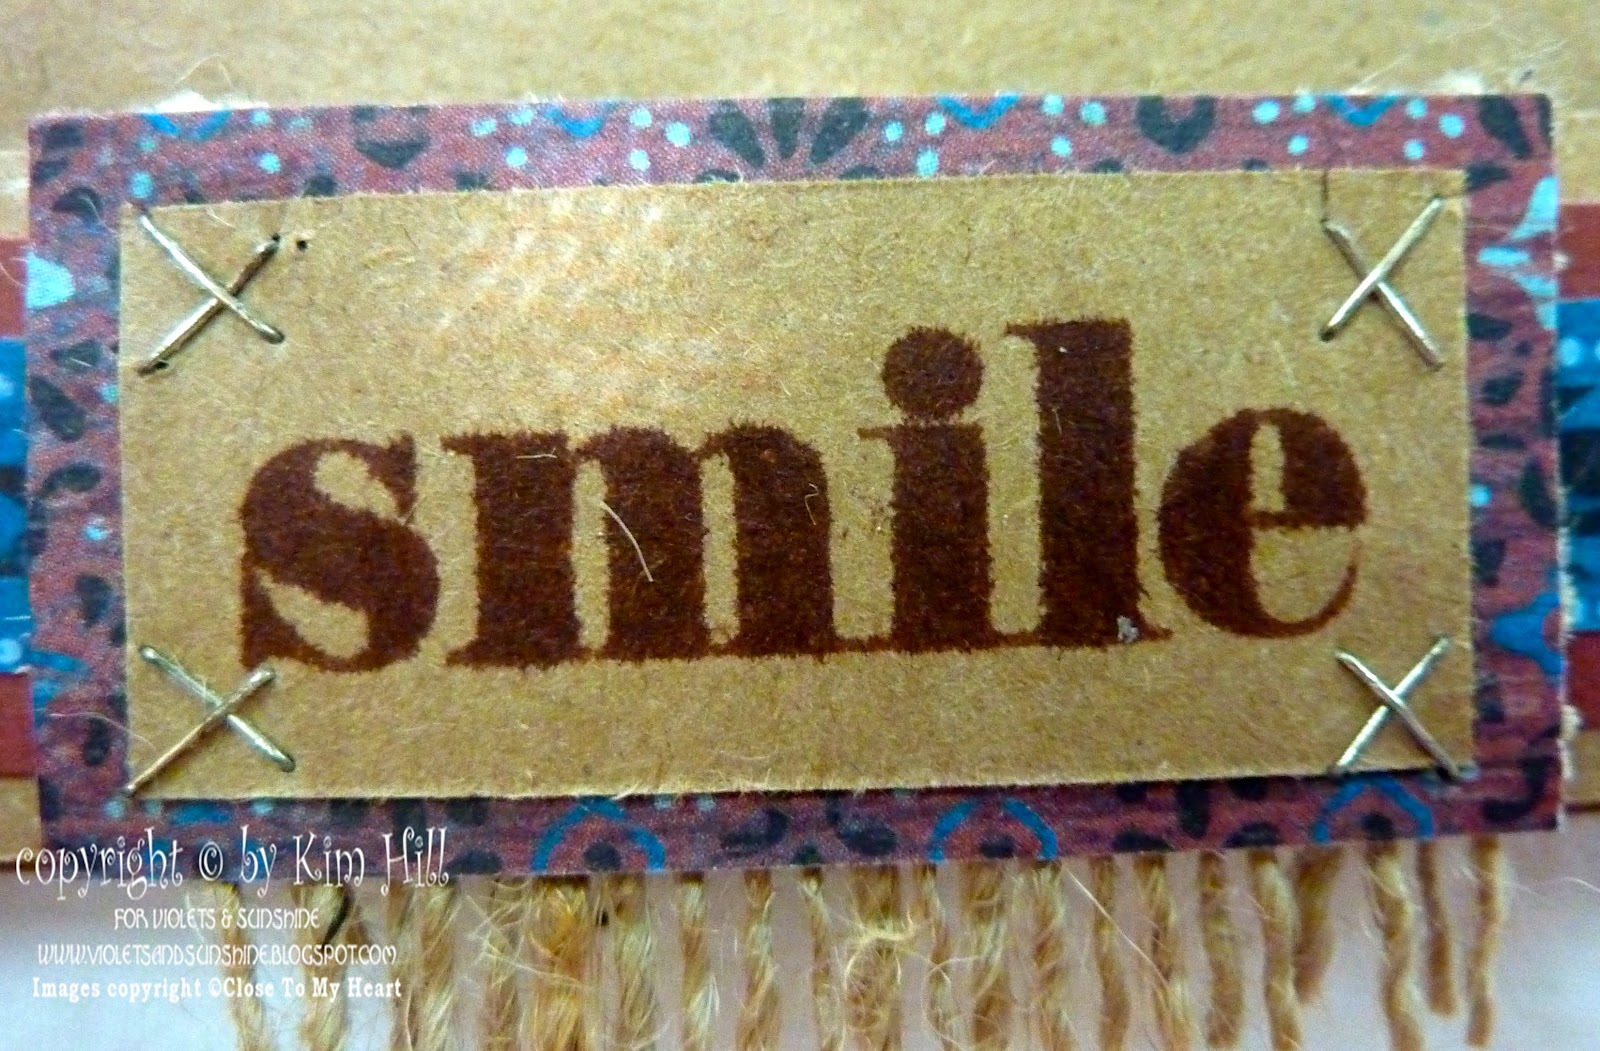
For the "smile" sentiment, I again layered Dakota paper and kraft cardstock and added a little Burlap fringe on the back. "Smile" is from the "It's Your Day"set that has been released to celebrate National Stamping Month (which starts tomorrow!). This double stamp set is available for $5 with any $35 purchase. I added tiny staples again for some fun. (I don't have the tiny attacher, by the way. I used a funky little pocket stapler that my dad gave me. I'll post pictures of it soon!)


Hope you enjoyed a little mojo to head into the weekend! Have a fantastic and safe Labor Day!