The Marketplace @ Violets & Sunshine

Showing posts with label lollydoodle. Show all posts

18 June 2014

The Days of Wine and Roses....

Okay, not so much roses....

One of the parties we went to over the weekend was for a friend's 40th birthday. Of course,  a celebration like this called for more than a gift card, so here's what we brought instead:


Cute, no? I thought so--hope the wine tasted as good as the bottle looks. Anyway, I couldn't find a gift bag I liked, so I decided to make my own. I have to say, this wasn't the easiest project I've done of late, but I do like the way it turned out:


I used Kraft cardstock for the bag itself. As the cardstock comes in 12x12 sheets and my wine bottle was 12 inches tall, I had to do some paper piecing to make it fit. (I'll post a tutorial on how to do it at a later date.) All told, it took about 2 1/2 sheets of cardstock. I then wrapped the bag in Lollydoodle patterned paper, leaving the zip strip on the top for extra height and interest. The bracket frame is from the Lollydoodle Compliments, and "Happy Birthday" is stamped in Outdoor Denim Exclusive ink using the Vogue Alphabet stamp set. I added it to the bag with dimensional adhesive. The flower was made using Lollydoodle paper and Cotton Candy cardstock and the Tim Holtz Tattered Florals Sizzix die. I layered the flowers together and attached them with a pink-bling brad from my stash. I used a double layer of dimensional adhesive to add the flower to the bag so that it would layer above the sentiment nicely. Finally, I punched four holes in the top and set a white eyelet in each hole. I then used Color Ready Seam Binding for handles. (The Seam Binding has been retired, but can be purchased during the month of June in two of the Celebrate 30! gift collections: Delightful Trim and Papercrafting Possibilities.

Here are a couple of close-ups of the sentiment and flower:


I hope you like the gift bag. Hopefully I'll have a tutorial up soon. In the meantime....

17 March 2014

Kraft-y Hearts Blog Share: No Place Like Home


Hi All! Welcome to day 2 of the Kraft-y Hearts Blog Share for the month of March, celebrating Close To My Heart's March Stamp Of The Month: Happy Place.


Today's project was made in honor of Spring, which seems to be slow in coming to the DC area. Let's take a look:


This project was made using the CTMH Artiste Cricut Cartridge. The vase is the popcorn box cut (p. 67). Using Cricut Craft Room, I cut it at 11.15 inches high from Sorbet Cardstock. I then cut the same shape at 10 inches from Lollydoodle paper to add some colorful panels to it.

The flowers are cut at various sizes (no larger than 2 1/2 inches) from the Artist cartridge as well (see pages 35 and 54). In addition to Lollydoodle paper, I used Sunset, Hollyhock, and Cotton Candy Cardstock to quite down the riot of patterns a bit. For the stems, I wrapped plastics straws in Sweet Leaf Cardstock and attached them to the flowers with glue dots. For the center of the flowers, I used buttons from the Rosewood Mini Medley Accents and from my stash. I attached them to the center of the flowers with Liquid Glass and then added a bow made from bakers twine (from my stash). I also added curled 1/8 x 12 inch strips of Sweet Leaf to the vase to fill it out a little more. 

The sentiment is stamped in Twilight Exclusive Ink on White Daisy Cardstock. I attached it to a skewer and added a piece of White Daisy Cardstock to the back and then wrapped the all of the back and the edges of the front with Smoothie Striped Washi Tape.

Here are some close-ups:


I hope you enjoyed my bit of spring, and this month's Kraft-y Hearts Blog Share. Don't forget to hop on over to From My Bungalow and see what the fabulous Lynn Darda has in store for your inspiration.


07 February 2014

Valentine Countdown: Match Made In…the Craft Room?


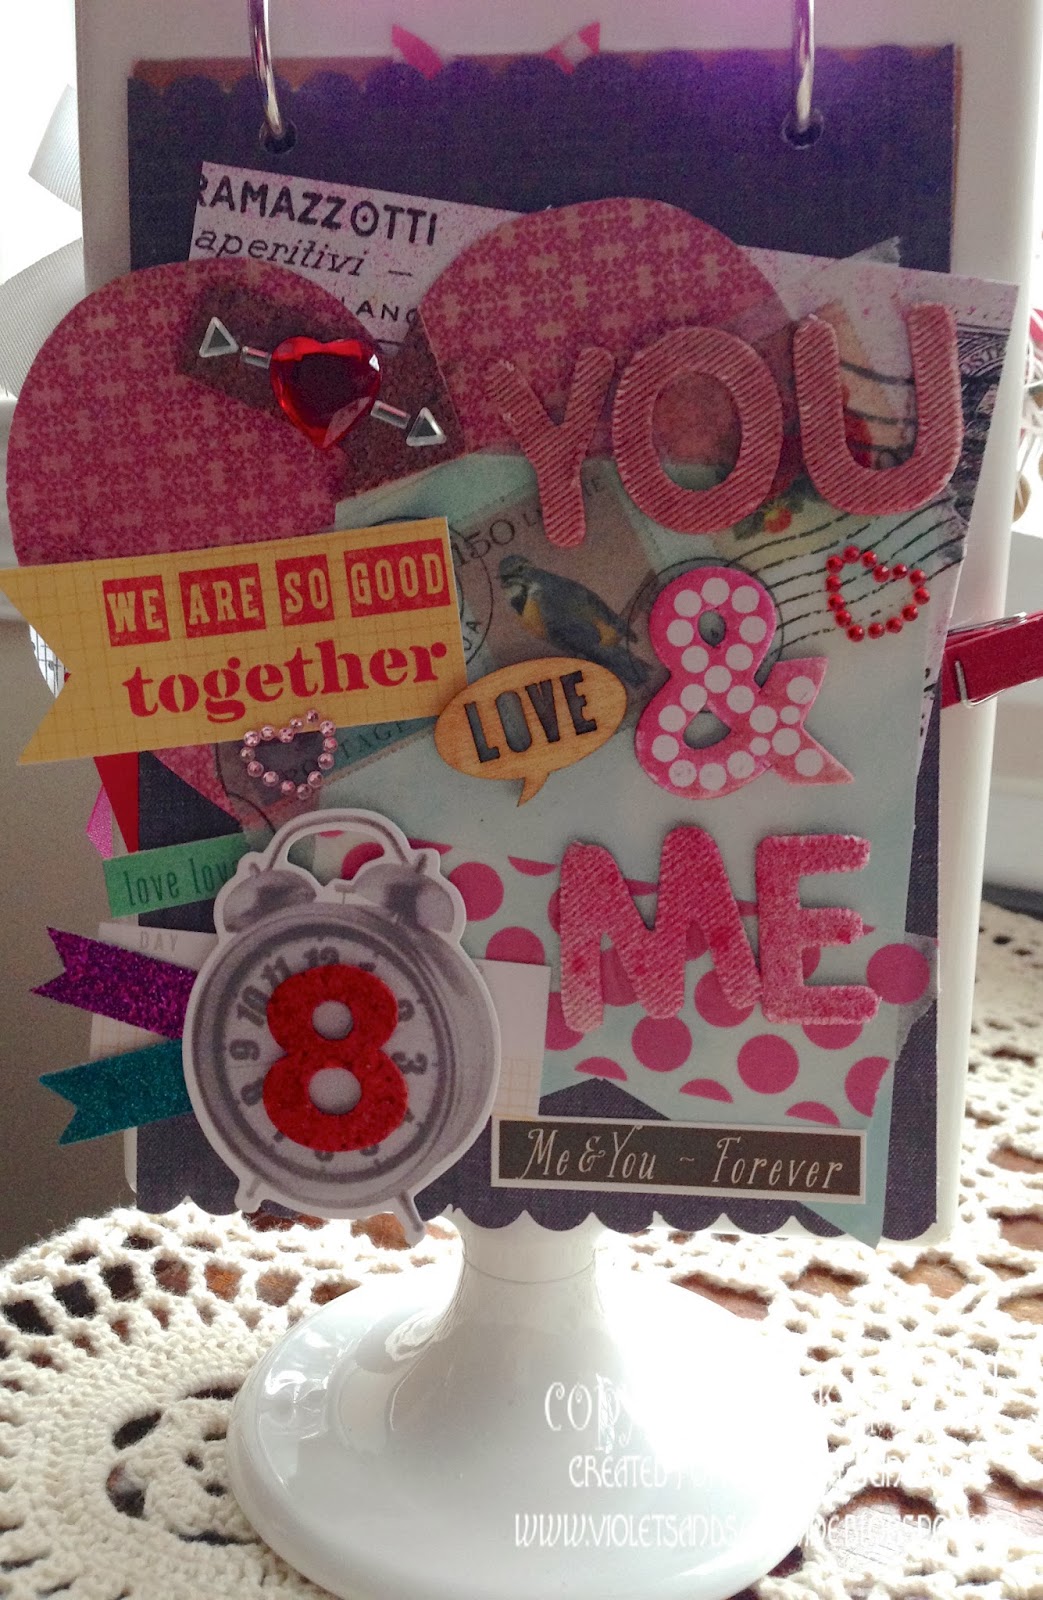
Bonjour Tout le Monde! (Yep, just thought I'd mix it up a bit. Loose translation: Hi All!) Welcome to Violet & Sunshine's Valentine Countdown. Just 8 more days…. Woo HOO!

Today's little treat is the simplest project yet. You can find a fantastic video tutorial for it at SplitcoastStampers.


 These little matchbook candy holders are fantastic for class treats. They really are that easy. I have to say though, all my matchbook-inspired puns were completely lost on my teen and tween. Oh the sadness! No "Match Made in Heaven"…. No "You Light My Fire"…. My son informed me that kids might get it if I made a lighter instead. UGH!  Still, even without the cheesy puns, it's a stinkin' cute candy holder. I added Airheads (there's irony in there somewhere, I think) instead of chocolates just for fun.


Our Project Ingredients List:
Kraft Cardstock
Small Brads (or Staples)
Favorite Stamp Set


 I followed the tutorial to make candy holder itself. I then added patterned paper and cardstock to the front, back and inside of the holder. I used my Artiste cartridge to cut the speech bubbles and letters. "Girl" is a layer cut on Artiste as well. I wanted to give my letters a plastic look, so I covered them with Liquid Glass and let it dry. (I suggest putting them somewhere out of sight so you aren't tempted to touch them and check if they're dry….it might happen….just sayin'….)


The inside pocket works with Ghirardelli chocolates (that aren't filled) as well as Airheads and Laffy-Taffy. You could also probably fit a gift card in it as well.


These sentiments are from the retired Whoo's Your Valentine stamp set. "Love U Lots" is stamped on White Daisy cardstock in Sky Exclusive Ink, fussy cut, and popped up with dimensional adhesive. "You totally rock!" is stamped on Colonial White cardstock in Outdoor Denim Ink. I fussy cut it to look like a speech bubble and popped it up with dimensional adhesive.

Well I'm off to harangue my teen and tween with more matchbook puns. I hope you enjoyed today's project. We'll see you tomorrow as the countdown continues….


06 February 2014

Valentine Countdown: "Chew"-se Your Valentine


Hi All! Welcome to the Violets & Sunshine Valentine Countdown! Just 9 more days 'til the big day! By the way, I realized this morning that I'm counting the day itself as part of the countdown. My bad! But we're committed, so I'm not going to change it now. If you don't count the actual day, then it's only 8 more days!!! (For those of you who are making class Valentines for your kids, just think of it as 9…it's a whole lot less stressful!) 

Now on with today's project:


My kids love gum and I love puns, so this was a match made in heaven. Today's projects are little slider boxes that house a pack of gum.

Here they are opened:


You just pull up the bows and the gum slides out. How fun is that! I have seen these for candy bars and what-not, but not for gum, so I thought I'd get a little creative. 


Here are the ingredients:
Kraft Cardstock
Favorite Adhesive
1/8th-inch Hole Punch
Ribbon

I began by cutting two 7 1/2 x 3 1/2-inch pieces of Kraft Cardstock, which I then scored at 1/2 and 3 inches on the 3 1/2-inch side and at 3 1/2 and 4 inches on the 7 1/2-inch side. I cut the little flaps and made a box. Then I punched holes about 1/8 inch from the top. To make the slider, I folded the ribbon/twine in half  to find the center and attached it at the center to the bottom of the gum box. I put the gum in the box and then threaded the ribbon/twine through the holes at the top and tied a bow. I then decorated the front.

Here are a couple of close-ups of the box fronts:


So many gum puns! "I 'chew'se You"… "Stuck On You"… "You Blow Me Away" (Blowing bubbles…?) Anyway, this was a fun one. I've got two packs left, so we'll see what we come up with.

In the meantime, I hope you're having fun with our countdown! Tune in tomorrow as we continue with day 8 (or 7….) 


04 February 2014

Valentine Countdown: 11 Days… Rockin' the Chocolate


Hi All! Welcome to Violets & Sunshine's Countdown to Valentine's Day! Just 11 more days! If you're just joining us, we're crafting 14 projects in 14 days for Valentine's Day. You can see some of the past projects starting here.

For our fourth project, I made a couple of Ghirardelli chocolate holders using this tutorial by SpiltcoastStampers. This is a great project for a quick and simple class or teacher Valentine's exchange. You can make two boxes from one sheet of 8 1/2 x 11-inch cardstock, so it's pretty easy on the budget as well.  Let's take a closer look:


My Ingredients List for this project:
Favorite Adhesive
Favorite Stamp Set (Retired CTMH: Whoo's Your Valentine)


If you need a quick and easy little Valentine, or maybe just a little appreciation gift, this box is perfect. For the green box, I used Ponderosa Pine cardstock for the base and covered it with paper from the Timberline paper pack. I added the zip strip from the paper for a little extra interest. The sentiment is stamped on Colonial White cardstock in Indian Corn Blue Exclusive Ink. I made a little flag using Woodgrain Washi tape and stapled it to the sentiment using may Tiny Attacher. (The sentiment is from a retired stamp set by Close To My Heart.) I used dimensional adhesive at the bottom of the sentiment to attach it to the box and then tucked the top behind it to keep the box closed. I then added a couple of Durable Triangle Studs to draw attention to the sentiment.

The pink version was made exactly the same way, using Lagoon cardstock for the base and Lollydoodle patterned paper to cover it. I added a little scallop to the top flap using the Scallop Border Punch. I also used the backside of the Lollydoodle paper for the contrasting strip of paper instead of the zip strip. For the flag on the sentiment, I cut the Gold Polka Dot washi tape in half to make it 1/2-inch wide instead of 1-inch. (I just like the thinner look better.) Aqua Dots replaced the Durables for added interest, and the sentiment was stamped in Lagoon Exclusive ink on White Daisy cardstock.

Here are a few close-ups of the boxes:


And here they are together one more time:


A simple and easy project for Valentine's Day or any time of the year. (Wouldn't these make great birthday party favors? Or how about Bridal or Baby Shower favors? So MANY options!)

Join us again tomorrow for another fun and simple project for Valentine's Day. Until then…..