The Marketplace @ Violets & Sunshine

Showing posts with label kraft cardstock. Show all posts

03 August 2016

To A Special Friend

Hi All! Just thought I'd pop in with a quick card I made from a piece I watercolored for #thedailymarker30day coloring challenge. Let's take a look:


For this card, I began by creating a standard A2 card base from Kraft Cardstock. I then cut a frame from the front using the A Bunch of Love Thin Cut dies by Close To My Heart and my Sizzix Big Shot Plus. I then used my Misti Stamping tool to line up the coordinating stamp from the A Bunch of Love Stamp set. I stamped the image and the "special friend" sentiment in VersaMark ink and embossed them in white embossing powder. I then used my Misti to stamp the sentiment on the front in VersaMark, and used white embossing powder on it as well. I then watercolored the image and let it dry. After it was dry, I added a little shimmer to it using my Wink of Stella clear pen. 

I then added paint splatters to the front of the card for extra texture and color. I felt like the opening needed something extra to make it pop, so I outlined it in pearl white using my Kuretaki Gansai Tambi water colors. Finally I added the bow and some yellow sequins from my stash for a little extra bling.

Here are some close ups:


I hope you enjoyed this card. This particular die and stamp set will only be available through the end of August so you might want to hop on over and grab them before they're gone!

Have a wonderfully creative week!


15 December 2015

Adding A Little Handmade Holiday Cheer


Hi All! Welcome to the Rose Blossom Blog Hop featuring some last minute handmade holiday ideas. If you just hopped over from the fabulous Shelly Nemitz's blog, Just One Pretty Piece, you're in the right place. If you're just starting here or you get lost along the way, I have a list of blog participants at the end of the post. Also, make sure you hop by Brenda Rose at Rose Blossom Legacies--she's giving away some lovely goodies! 

I love the idea of handmade holidays, and if you follow my blog, you know I do a lot of home decor projects. But, when all is said and done, I find myself giving a lot of store-bought gifts during the holidays, especially bottles of wine. So I have to content myself with adding little handmade elements to things, and that's what inspired today's project: handmade tags!


Handmade tags are one of the easiest ways to add a handmade feel to any gift and you get a whole lot of bang for you buck. For this set, I used Kraft cardstock, Close To My Heart's White Pine complements pack, Glacier extra thick twine, stamps and ink. Let's take a closer look.


I cut 8 tags to 2 1/4 x 3 3/4 inches and used my scallop corner rounder to to give them a decorative edge. For the two tags above, I inked around the edges with my sponge dauber using White Daisy Exclusive ink and added a variety of stickers and kraft pieces from the complements pack. The "Be Merry" greeting is a combination of stamps from the Miracle of Christmas and Say It All (Hostess Reward) stamp sets. "Be" is masked off from "Believe" and stamped in Fern ink and "Merry" is masked off from "Merry Christmas" and stamped in New England Ivy ink.  The "merry" sentiment on the ornament is masked off from the Doubly Merry stamp and is stamped in Cranberry ink.


For the above tags, I randomly stamped the snowflake from Miracle of Christmas and inked around the edges of the tags with White Daisy ink. I also added Diamond Stickles to these and the other tags for a little extra sparkle. Finally, I used a Pentel Silver Signo pen to draw the string on the ornaments.


For these tags, I stamped some more snowflakes in and added thick plastic and kraft White Pines complements. The little animals on the second tag are stickers from the complements. They would normally have a Glacier blue border around them, but I trimmed it off. You can see the border on the tree below.


Finally, for the last two tags, I used a mixture of elements from the complements. I popped the sentiments up with foam tape. Since they are on clear plastic, I strategically placed Blue Enamel Dots and some kraft complements to hide the foam tape. 

And there you have it. A quick and easy way to add a handmade element to any holiday gift. Now hop on over and see what the super-creative Cathy Arbuckle has for your inspiration at These Eager Hands. And here's a list of participants as promised:

Kim {that's me}

Have a wonderfully creative day!


21 September 2014

Kraft-y Hearts Blog Share: Family is Forever


Hi All! Welcome to the Kraft-y Hearts' September Blog Share! This month we'll be taking a look at Close To My Heart's September Stamp Of The Month: Family Is Forever


Now, on with the share! 

Have you ever started a project with one idea in mind only to have it morph into something completely different? Welcome to my world. I started out with a little 6x6 canvas and stamped the tree image from the Family Is Forever on it. I had visions of a beautiful fall ombre tree that ended up...well...not so beautiful. So it was back to the drawing board. And this is what I came up with instead:


I stamped the tree image and sentiment in Black Exclusive Ink on a 6x6 piece of kraft cardstock. I also stamped the top of the tree in Ruby Pigment Ink on a scrap of kraft cardstock and fussy cut the hearts. I adhered the red hearts over the ones on the tree with liquid adhesive. I used a paint brush and Colonial White Exclusive Ink to add a little pop of highlight to each heart. I then cut 2 slits in the cardstock on either side of "forever" and threaded through some of our Cranberry Striped Twill ribbon and tied it in a bow over the tree trunk.

Here are a couple of close-ups for you:


Before adhering the cardstock to the front of the canvass (using liquid adhesive), I inked the edges of the canvass and the cardstock with Black Exlusive Ink. I then went over the ink on the canvas with my ShinHan Touch Black marker to deepen the color. I also covered the outer edge of the canvas with more of the Cranberry Striped Twill Ribbon. When the adhesive on all that was dry, I adhered the cardstock to the front of the canvass.

Here's another look:


I didn't start out with a sort of primitive art look in mind, but it's what I ended up with, and I like it! Happy accidents are the best kind!

I hope you enjoyed this little project. Don't forget to hop on over and see what the oh-so-talented Lynn Darda has in store for you at From My Bungalow.

And as always, the Stamp Of The Month can be yours for $17.95 or for $5 with a $50 purchase.


18 June 2014

The Days of Wine and Roses....

Okay, not so much roses....

One of the parties we went to over the weekend was for a friend's 40th birthday. Of course,  a celebration like this called for more than a gift card, so here's what we brought instead:


Cute, no? I thought so--hope the wine tasted as good as the bottle looks. Anyway, I couldn't find a gift bag I liked, so I decided to make my own. I have to say, this wasn't the easiest project I've done of late, but I do like the way it turned out:


I used Kraft cardstock for the bag itself. As the cardstock comes in 12x12 sheets and my wine bottle was 12 inches tall, I had to do some paper piecing to make it fit. (I'll post a tutorial on how to do it at a later date.) All told, it took about 2 1/2 sheets of cardstock. I then wrapped the bag in Lollydoodle patterned paper, leaving the zip strip on the top for extra height and interest. The bracket frame is from the Lollydoodle Compliments, and "Happy Birthday" is stamped in Outdoor Denim Exclusive ink using the Vogue Alphabet stamp set. I added it to the bag with dimensional adhesive. The flower was made using Lollydoodle paper and Cotton Candy cardstock and the Tim Holtz Tattered Florals Sizzix die. I layered the flowers together and attached them with a pink-bling brad from my stash. I used a double layer of dimensional adhesive to add the flower to the bag so that it would layer above the sentiment nicely. Finally, I punched four holes in the top and set a white eyelet in each hole. I then used Color Ready Seam Binding for handles. (The Seam Binding has been retired, but can be purchased during the month of June in two of the Celebrate 30! gift collections: Delightful Trim and Papercrafting Possibilities.

Here are a couple of close-ups of the sentiment and flower:


I hope you like the gift bag. Hopefully I'll have a tutorial up soon. In the meantime....

07 February 2014

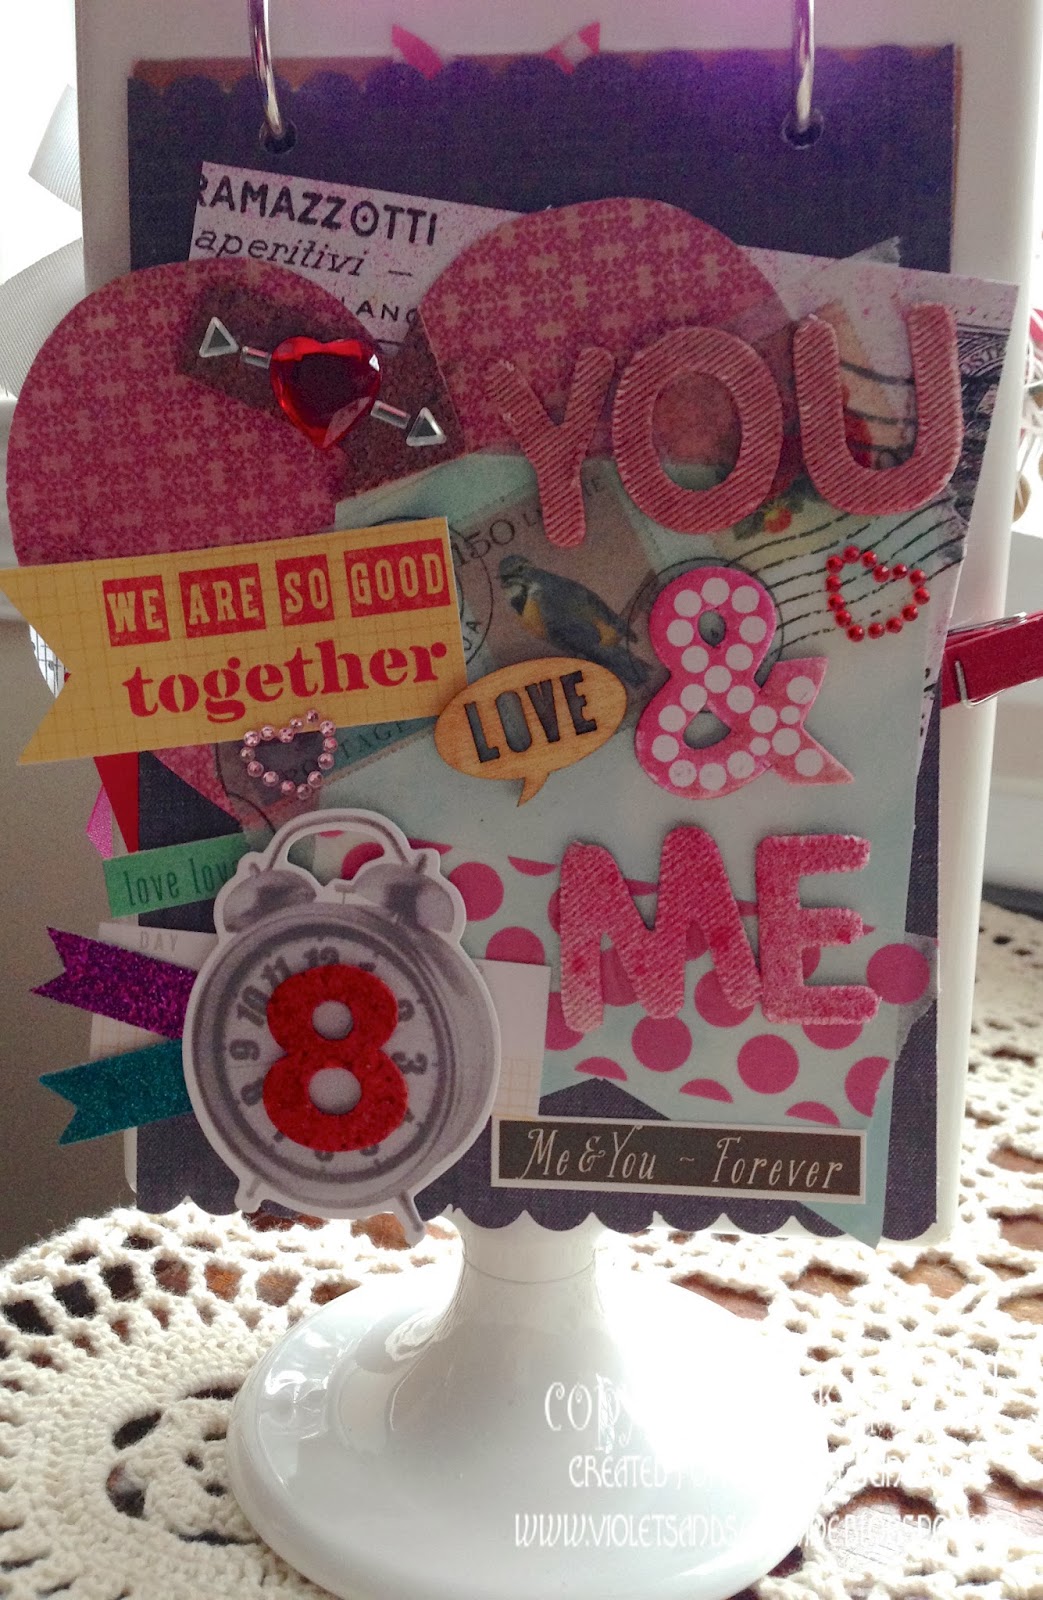
Valentine Countdown: Match Made In…the Craft Room?


Bonjour Tout le Monde! (Yep, just thought I'd mix it up a bit. Loose translation: Hi All!) Welcome to Violet & Sunshine's Valentine Countdown. Just 8 more days…. Woo HOO!

Today's little treat is the simplest project yet. You can find a fantastic video tutorial for it at SplitcoastStampers.


 These little matchbook candy holders are fantastic for class treats. They really are that easy. I have to say though, all my matchbook-inspired puns were completely lost on my teen and tween. Oh the sadness! No "Match Made in Heaven"…. No "You Light My Fire"…. My son informed me that kids might get it if I made a lighter instead. UGH!  Still, even without the cheesy puns, it's a stinkin' cute candy holder. I added Airheads (there's irony in there somewhere, I think) instead of chocolates just for fun.


Our Project Ingredients List:
Kraft Cardstock
Small Brads (or Staples)
Favorite Stamp Set


 I followed the tutorial to make candy holder itself. I then added patterned paper and cardstock to the front, back and inside of the holder. I used my Artiste cartridge to cut the speech bubbles and letters. "Girl" is a layer cut on Artiste as well. I wanted to give my letters a plastic look, so I covered them with Liquid Glass and let it dry. (I suggest putting them somewhere out of sight so you aren't tempted to touch them and check if they're dry….it might happen….just sayin'….)


The inside pocket works with Ghirardelli chocolates (that aren't filled) as well as Airheads and Laffy-Taffy. You could also probably fit a gift card in it as well.


These sentiments are from the retired Whoo's Your Valentine stamp set. "Love U Lots" is stamped on White Daisy cardstock in Sky Exclusive Ink, fussy cut, and popped up with dimensional adhesive. "You totally rock!" is stamped on Colonial White cardstock in Outdoor Denim Ink. I fussy cut it to look like a speech bubble and popped it up with dimensional adhesive.

Well I'm off to harangue my teen and tween with more matchbook puns. I hope you enjoyed today's project. We'll see you tomorrow as the countdown continues….


23 November 2013

Kraft-y Hearts Blog Share: Give Thanks (part 3)

Hi All! Welcome to day 3 of the Kraft-y Hearts November Blog Share. I can't believe how quickly it has come and gone! Today we'll look at the last three pages of the gratitude mini album I created using the Close To My Heart Flip Stand Album, Artiste Cricut cartridge and the Huntington collection

The next page is cut from Huntington paper. I created a little library pocket from Cocoa cardstock and added a little journaling tag. The library pocket is held together with mini copper brads from my stash. I matted it with Huntington paper and added a little twill ribbon and metal slider for interest. The love sentiment is from the Remarkable Wreath stamp set and is stamped in Autumn Terracotta Exclusive ink. The journaling tag is embellished with Huntington paper, mini copper brads and a little hemp twine.

I left the back of the page very plain, adding only a Cocoa cardstock photo mat and a little tag of Huntington paper.

I love this next page because I'm a big fan of creating with file folders. This Kraft cardstock page, however, is not supposed to be a folder. The Artiste cut is actually for a longer mini album. However, since I am hanging this on a flip stand, I could fold it like a file and it worked perfectly. I matted the front with Huntington and added a little Color Ready Seam Binding, copper brad and sentiment tag for interest. The sentiment is from the retired You Are My Happy stamp set. I used a little library binder clip to hold the folder close. The inside is simply matted with Huntington paper to keep it from being too bulky.

For the back of the page, I added a little Huntington paper for interest. The sentiment tag is actually a little anchor for tucking in photos or ephemera. The sentiment (stamped in Slate Exclusive ink) is from You Are My Happy. (Big Dr. Seuss fan here!)

Finally, for the las page, I used another of the longer Artiste pages and folded about a third of it up to create a pocket. I used hemp twine to tie the pocket together. (The double-sided Huntington papers are perfect for this type of page. I tucked a little photo folder made of Kraft cardstock in the pocket that I dressed up with a bit of Huntington paper and Color Ready Seam Binding. I left the back of the page completely blank. The gray patterned paper will make a nice backdrop for a photo.

So that's it! I hope you enjoyed my little flip stand album. Don't forget to hop over and see what crafty goodness Lynn has in store for you at From My Bungalow. Have a wonderful Thanksgiving!