The Marketplace @ Violets & Sunshine

Showing posts with label alcohol ink markers. Show all posts

02 June 2015

A Little Tuesday Mojo


Hi All! So Mojo Monday is not only having their contest sketch this week, but they also have a Design Team call out. Who could pass up THAT opportunity?!? Here's this week's sketch:


And here's my take on it:


For this card, I used a standard A2 (5 1/2 x 4.1/4 inch) card base made from Close To My Heart's Cocoa cardstock, and rounded the bottom corners with my corner rounder. Since this is a white core cardstock, I inked around the edges of the cardstock with Cocoa Exclusive Ink. I added a layer of White Daisy cardstock that is 1/4 inches shorter and narrower than the base. For a little added texture, I stamped a background stamp from the Jumping Geometrics stamp set in VersaMark ink and heat embossed it with Clear Super Fine Embossing Powder. I then added a circle of gold-foiled vellum to the corner, rounded the bottom corners, and adhered the entire layer to the card base.

The flower is from the Wavy Blooms stamp set (one of my favorite sets for coloring). I stamped it in Memento Tuxedo Black ink on White Daisy cardstock and let it dry. I then colored it with ShinHan Twin Touch markers in Golden Yellow, Marigold, Bronze, Mahogany, Leaf Green, Vivid Green, and Sap Green. The sentiment is from the Documenting Moments stamp set, and is stamped on White Daisy cardstock in Honey and Cocoa Exclusive Ink. I flagged the end and then popped the sentiment and flower up with thin 3D foam tape. When all was said and done, I thought it needed a little something more, so I added some gold sequins for the final touch. 

Here are a couple of close-ups:


Hope you enjoyed this little bit of Mojo Monday on Tuesday. It was fun to play along once again.



26 September 2014

Inspired by....

Hi All! Happy Fall! I've had a few people ask me where I get inspiration for my projects. And honestly, I don't have one particular source. It may be from something I read, or a pin I saw, or a myriad of other people, places and things. So today I'm sharing a card I created that came from multiple sources of inspiration.

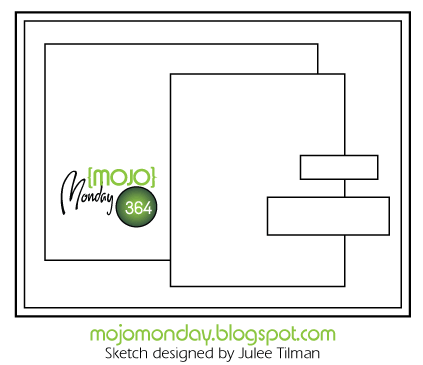
Inspiration for the layout came from this week's Mojo Monday card sketch:


The color choices were inspired by the color challenge over at The Card Concept (a new challenge blog for me):
And the stamp choice was inspired by the amazingly talented artist Lynn Darda at From My Bungalow (she was playing along with The Card Concept challenge):


And now, here's my card:


The base of the card is made from Kraft Cardstock and is 4 x 5 1/2 inches. The first layer is Colonial White Cardstock cut a quarter of an inch smaller than the base. The patterned paper was made using my ShinHan Touch markers and the Tim Holtz Marker Spritzer by Ranger. The ShinHan markers don't fit the spritzer, so I improvised. By holding the marker in one hand and placing the nozzle of the the spritzer directly on the chisel tip of the marker, I was able to blow ink off the tip of the marker and onto the White Daisy Cardstock to create a spatter effect. Pretty cool, no?

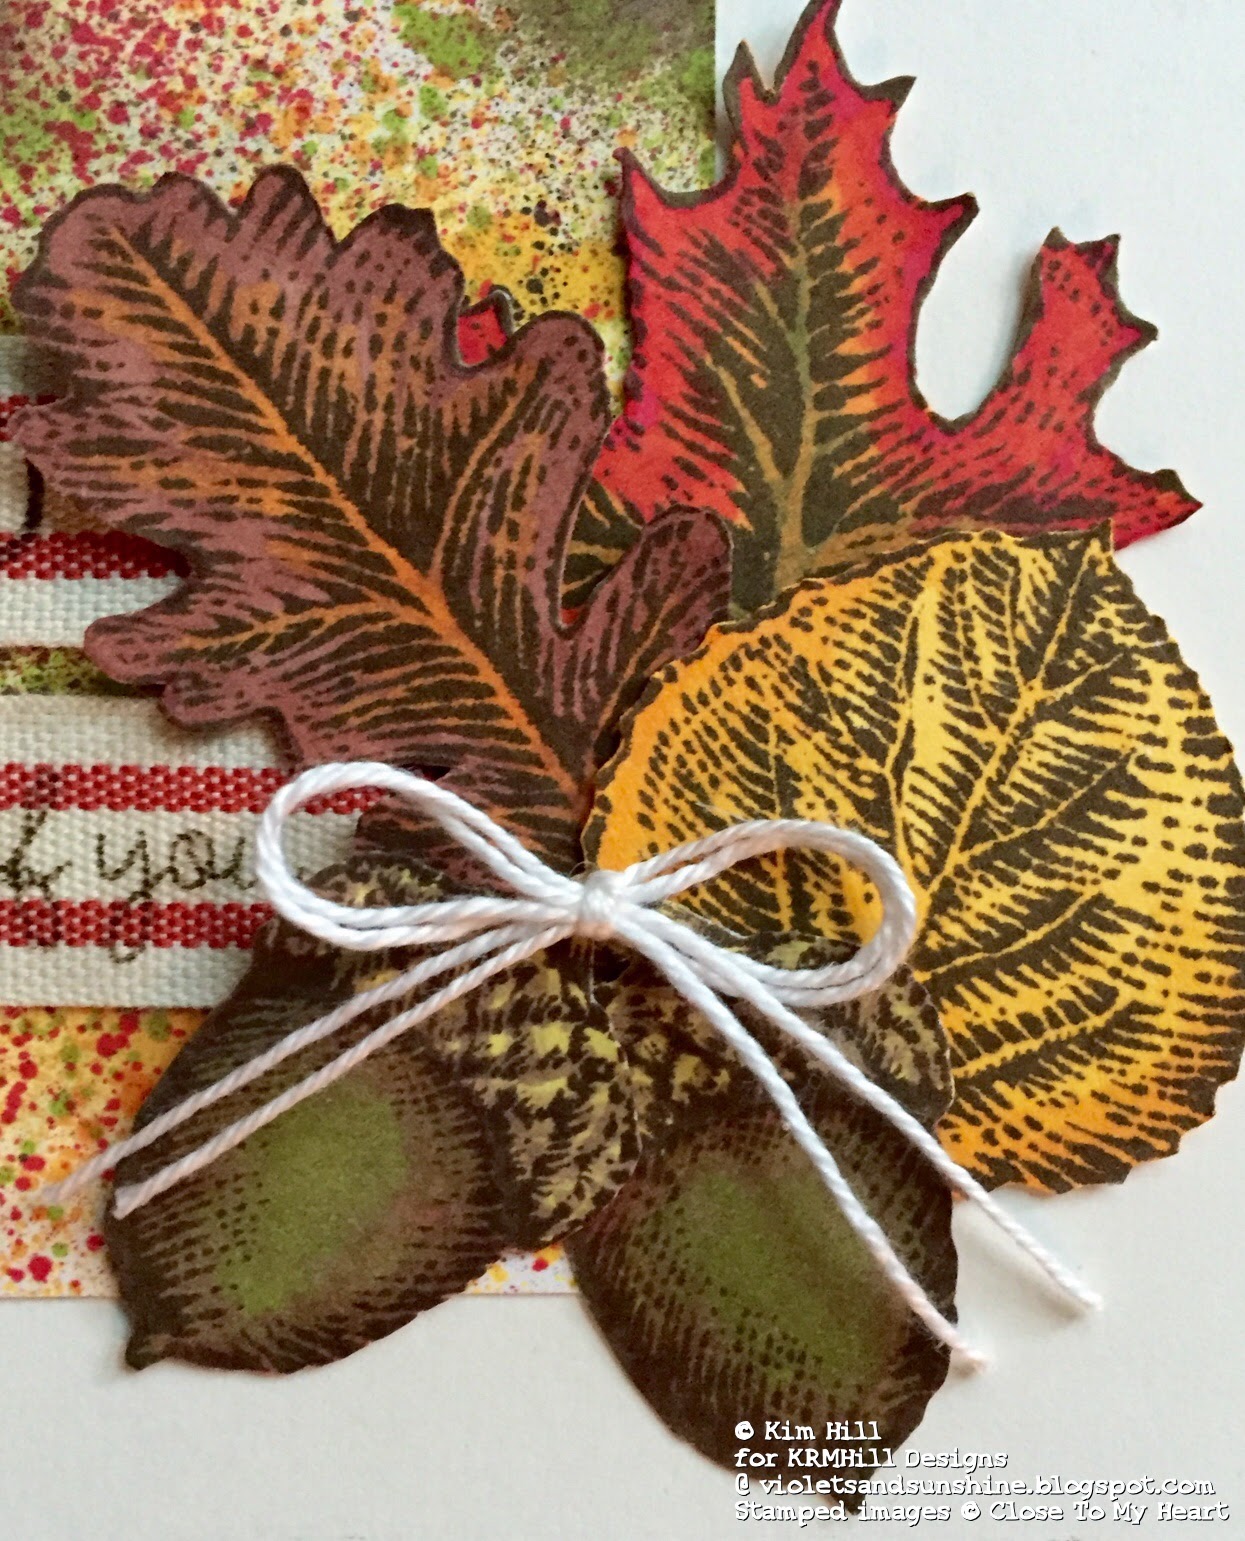
I stamped the leaves and acorns from the Fall Harvest stamp set using Walnut Stain Distress Ink. (I would have used Chocolate Pigment Ink, but I ran out. Time to reorder, like yesterday!) After the ink dried, I colored the leaves with ShinHan markers so that the images would reflect the colors of the back ground. I fussy cut the images and popped the aspen and oak leaves up with dimensional adhesive. I then tied a double bow in white crochet thread and attached it with a glue dot

The sentiment is from the Have A Happy Day stamp set. I stamped it on Cranberry Striped Twill Ribbon using the Walnut Stain Distress Ink. I frayed the edges of the ribbon to add a little texture. (Note: this ribbon does not fray easily, which I actually like; however, with a little effort, you can get the frayed look if you want it.)

Here are some close-ups:


And here's one more look at the card:


So there you have it. The Card Concept folks like to have you own up to the style you used--clean, shabby chic, etc. Since eclectic isn't an option, I'll go with "free style." That seems like the best descriptor for "playing around in my craft room and having some creative fun," which sums up my card pretty well, I think.

I hope you enjoyed this little insight to my inspiration. Now tell me, what inspires YOUR creativity?


20 June 2013

Kraft-y Hearts Blog Share Day 1: A Simple Little Thanks....


Hi All! It's time for the Kraft-y Hearts Blog Share featuring Close To My Heart's June Stamp Of The Month: "A Flowering Bunch."


We are also welcoming a new Kraft-y Heart, Jody Spiegelhoff. You want to make sure to visit her at SpiegelMomScraps, and don't miss the über-kraft-y Lynn over at From My Bungalow. These ladies now how to inspire a little kraft-y goodness in us all!

To celebrate the addition of Jody to our Krafty Hearts Blog Share we are offering a giveaway.  For a chance to win the double-stamp set  "It's Your Day" and card kit just visit each of the three blogs listed and leave a comment on each one.  We would love new followers but that is not necessary to win.  Winner will be announced at From My Bungalow on Sunday. 


Now on with today's project...

I decided to start the share out with a simple thanks. This goes out to all of you, my dear blog readers and faithful followers. I'm so glad you've joined me on this crafting journey.

So here's the "Thanks:"


The card base is 5 1/2 x 4 1/4 inches and is cut from Kraft cardstock. (We aren't called the Kraft-y Hearts for nothin'!). I rounded the corners to soften the look a bit. Then I stamped the sentiment and field of flowers in Close To My Heart's White Daisy Exclusive Ink, and let it dry. Did you catch that last bit? I LET IT DRY! Our white ink is a pigment type ink that requires a longer drying time. If you don't let it dry, it will smear. So...let's say it together...LET. IT. DRY. (I actually set the card aside for a couple of days. I meant it to be an hour or so, but I got caught up on another project. At least it was definitely dry when I got back to it....)

After it was completely dry, I used my CTMH alcohol ink markers to color in the flowers. I wanted to keep the "doodle" look so I wasn't particularly careful about coloring in the lines. I used the lightest shade markers in Blush, Indian Corn Blue, Ruby, Honey, and Topiary. I also used a white gel pen to color in the daisy petals. And that's it!

Here is a close-up of the flowers:


How simple and easy was that??? And yet I really like the effect.

The Flowering Bunch set is one of my favorites. It's perfect when you want a casual, doodled look, but it can also be dressed up for home decor (as you'll see on Day 3 of our blog share). I love the font on the sentiments as well. The Flowering Bunch stamp set can be yours for $5 with any qualifying order of $50 or more, or you can purchase it on its own for $17.95. It is only available through 30 June, so if you haven't got it yet, you should definitely click here. Now hop on over and see what bit of flowering goodness Lynn has for you in her Bungalow and Jody has crafted at SpiegelMomScraps.