
Hi All! Happy Fall! I've had a few people ask me where I get inspiration for my projects. And honestly, I don't have one particular source. It may be from something I read, or a pin I saw, or a myriad of other people, places and things. So today I'm sharing a card I created that came from multiple sources of inspiration.
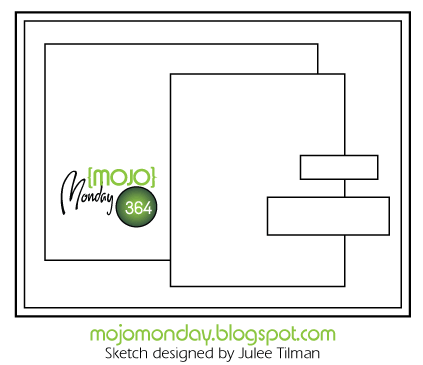
Inspiration for the layout came from this week's Mojo Monday card sketch:
The color choices were inspired by the color challenge over at The Card Concept (a new challenge blog for me):


And now, here's my card:

The base of the card is made from Kraft Cardstock and is 4 x 5 1/2 inches. The first layer is Colonial White Cardstock cut a quarter of an inch smaller than the base. The patterned paper was made using my ShinHan Touch markers and the Tim Holtz Marker Spritzer by Ranger. The ShinHan markers don't fit the spritzer, so I improvised. By holding the marker in one hand and placing the nozzle of the the spritzer directly on the chisel tip of the marker, I was able to blow ink off the tip of the marker and onto the White Daisy Cardstock to create a spatter effect. Pretty cool, no?
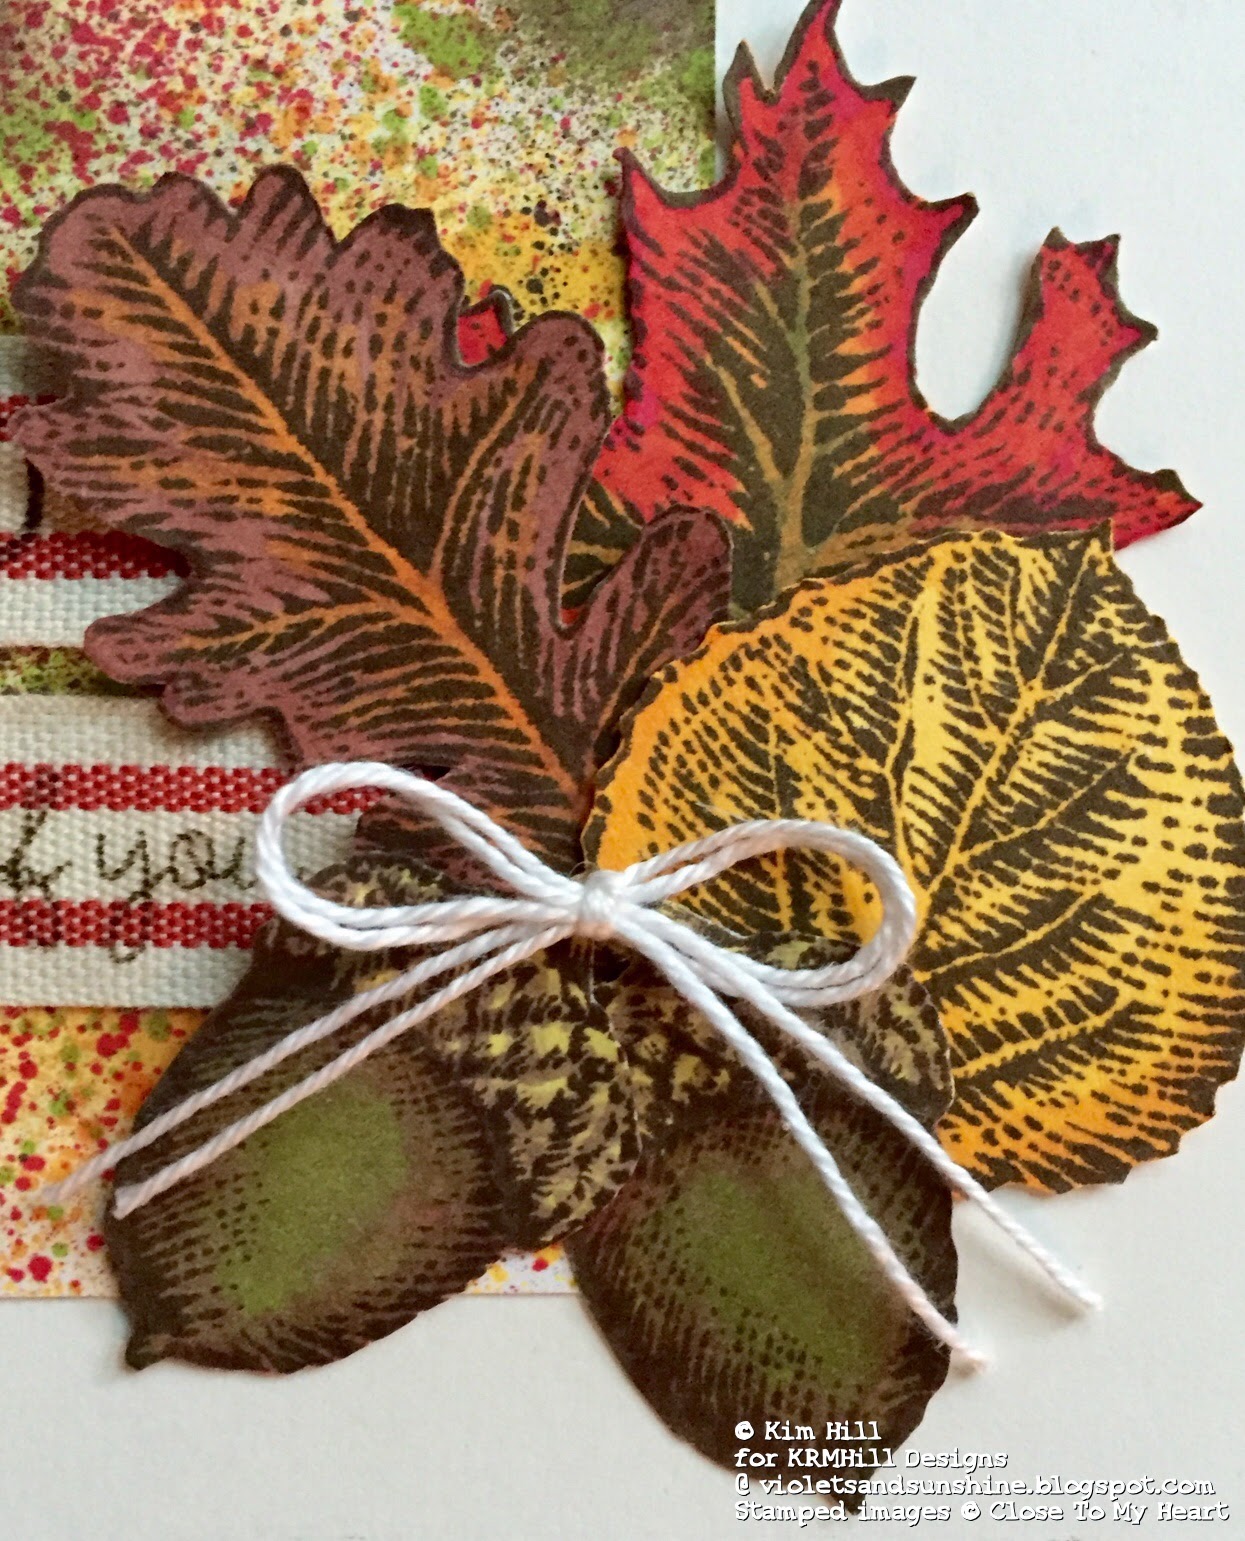
I stamped the leaves and acorns from the Fall Harvest stamp set using Walnut Stain Distress Ink. (I would have used Chocolate Pigment Ink, but I ran out. Time to reorder, like yesterday!) After the ink dried, I colored the leaves with ShinHan markers so that the images would reflect the colors of the back ground. I fussy cut the images and popped the aspen and oak leaves up with dimensional adhesive. I then tied a double bow in white crochet thread and attached it with a glue dot.
The sentiment is from the Have A Happy Day stamp set. I stamped it on Cranberry Striped Twill Ribbon using the Walnut Stain Distress Ink. I frayed the edges of the ribbon to add a little texture. (Note: this ribbon does not fray easily, which I actually like; however, with a little effort, you can get the frayed look if you want it.)
Here are some close-ups:


And here's one more look at the card:
So there you have it. The Card Concept folks like to have you own up to the style you used--clean, shabby chic, etc. Since eclectic isn't an option, I'll go with "free style." That seems like the best descriptor for "playing around in my craft room and having some creative fun," which sums up my card pretty well, I think.
I hope you enjoyed this little insight to my inspiration. Now tell me, what inspires YOUR creativity?


 Posted with Blogsy