The Marketplace @ Violets & Sunshine

Showing posts with label give away. Show all posts

03 July 2013

Celebrate YOU!

This month at Violets & Sunshine, I want to Celebrate YOU! So for the month of July, I have set up an online gathering on my CTMH Website called Celebrate YOU! Everyone who places and order through this gathering from now through 01 August will be entered in a drawing for $25 worth of free Close To My Heart goodies from the NEW IDEA BOOK.

But that's not all.....

This month, Close To My Heart  is offering our Canvas Art Kit Workshop On The Go for $19.95, and no qualifying purchase is necessary! 


This workshop includes:


1 – My Acrylix® Canvas Art Workshop Stamp Set (C-size) 
1 – 12" × 12" Printed Canvas Display 
1 – Cashmere Baker's Twine (1 yard) 

10 – Clear Sparkles (10mm) 

1 – Sparkles Flourish 

2 – 12" × 6" Dimensional Elements In Color—Art Shapes 
1 – Instructional Brochure

So this month, not only can you get a PHENOMENAL deal on our Canvas Workshop On The Go, but when you order it through the Celebrate YOU! gathering, you can also be entered to win a wonderful package of freebies!

It's all for you, because YOU are what makes this adventure so much fun! 


09 December 2012

12 Days of Christmas: Day 9


Hello All! Welcome to DAY 9 of the Kraft-y Hearts Blog Share. I hope you've been inspired to whip up some crafty goodness for the holidays this year!

Today's home decor project uses the My Creations Star by Close To My Heart.


The star comes in white ready for decoration. CTMH has a template that you can print out that allows you to easily cover the star to match your decor. To make this one, I used Pear & Partridge paper. (A single sheet will cover the star with a bit left over.) Before covering, I inked the edges of the star and the paper pieces using Cashmere Exclusive ink. I then adhered the pieces to the star. For the rosette in the middle, I cut two strips of coordinating patterned paper at 2 x 12 inches, scored both at every 1/2 inch and then accordion-folded them. I attached the two strips together to form a ring, and collapsed it in the middle to form the rosette. I used my hot glue gun and two 1-inch circles to secure it. (I've found with larger rosettes, hot glue is a must.) If you want more elaborate edges in your rosettes, you can find several options on the Artiste Cartridge, which is also the cartridge I used to cut the large snowflakes that I layered behind the rosette. The banner is cut by hand from a piece of Kraft cardstock and layered on coordinating patterned paper. I stamped the background in a snowflake pattern using the Pear & Partridge Workshop On The Go stamp set and Bamboo Exclusive ink. "Peace" is stamped in Cashmere Exclusive ink using the Trinity Alphabet stamp set. The small snowflakes were made using a retired punch by Creative Memories (but you could also use the Artiste or Art Philosophy Cricut cartridges to make them). I added some Pearl adhesive gems and a little Almond Glitz for a little extra pizazz. The red pearl stick pins are from my stash.

Here are a couple of close-ups:


I hope you enjoyed my little star, and are inspired to go out and create your own. CTMH has some fantastic 3D creative pieces that are simple to embellish and make wonderful gifts. Don't forget to leave a comment to be entered to win some fabulous blog candy from me (a Capture the Date stamp set and a Chocolate Exclusive ink pad!). And you definitely want to go and see what Lynn has been up to at From My Bungalow.


06 December 2012

12 Days of Christmas: Day 6

 Hello Everyone! Welcome to DAY 6 of the Kraft-y Hearts Blog Share. I hope you're enjoying the projects and getting inspired to make your own holiday goodies!

Today's project is the final card that I made using Close To My Heart's Pear & Partridge Card kit.


I changed this card up a little from the instructions in the kit. I'm not a big fan of covering the entire front of a card with single piece of paper. I like the layered look. So I cut the Cocoa cardstock to 5 1/4 x 4 inches to use as the base. I liked the Cranberry cardstock hanging over the edges of the Cocoa base a bit, so it is cut at 5 1/2 x 1 1/2 inches. The pattern paper is cut  at 4 x 2 inches, I believe. The stamp is my favorite part of this card. I love the graphics! (Confession: I initially bought the kit for this stamp!) It's stamped in Cocoa ink and given some extra sparkle with the red gems that are included in the kit. (In fact everything you seen on this card is included in the kit except the ink, acrylic blocks used in stamping and the adhesive. It's a fantastic kit!) I stamped the sentiment again in Cranberry ink and cut out the "A Merry Little" flag and popped it up using dimensional adhesive. Before putting it all together, I inked around the edges of all the paper with a little more Cocoa ink.

Here's a close-up:

So what do you think? Leave me a comment to be entered in my give away that I'll be conducting on 12/12/12. (The winner will receive a Capture the Date stamp set and a Chocolate Exclusive Ink dye ink pad!)

If you haven't been over there yet, you definitely want to go see what my hugely talented friend Lynn is up to at From My Bungalow! Prepare to be inspired!


04 December 2012

12 Days Of Christmas: Day 4


Welcome to Day 4 of the Kraft-y Hearts 12 Days Blog Share! Lynn Darda and I are having so much fun sharing some of our holiday creations with everyone. Hope you're enjoying it too!
Here's my project for today:


This card was also made using the Pear & Partridge Card Kit workshop from Close To My Heart. The stamp set is perfect for the holiday season! I used Cocoa, Olive and Cranberry Exclusive ink for the stamping, and added some dimensional adhesive to pop the sentiment up just a bit.

Here's a close-up:

The camera doesn't pick it up that well, but the red gems that are included with this kit have a glittery look. It's like having a huge, gorgeous dot of Red Glitz Glitter Gel without having to wait for it to dry! LOVE THAT!

Hope you enjoyed today's card. Don't forget to stop by Lynn's Bungalow to see the gorgeous project she has for today.


25 August 2012

Hi All!
Welcome to my first ever blog hop with the Rose Blossoms! I'm so excited to be participating!

You've probably just hopped over from Sara's Kreative Korner. (Is she loaded with talent or what?!) I'm so glad you've hopped by. I have a couple of projects to share with you, along with a little give-away goodness. All the projects I'm featuring were made with the new CTMH Artiste Cricut cartridge. Folks, this cartridge is AWESOME! So much creative material here! Let me show you just a fraction of what this little cartridge can do.

First up is a birthday card and box combo that I made for my niece who turned 18 this month.


The card and envelope are found on page 52 of the Artiste handbook. I cut both at 5 1/2-inches. The motif on this particular card is found on page 33.  (By the way, this is just 1 of 9 s-fold cards on this cartridge!) I used cocoa card stock for the base layer of the card and covered that with B&T paper from Stella. The flower accent is from the Bohemian assortment, the button is from the pink assortment, and the twine is from the neutral assortment. The envelope and accent pieces are cut from colonial white card stock. (I lined the envelope with 
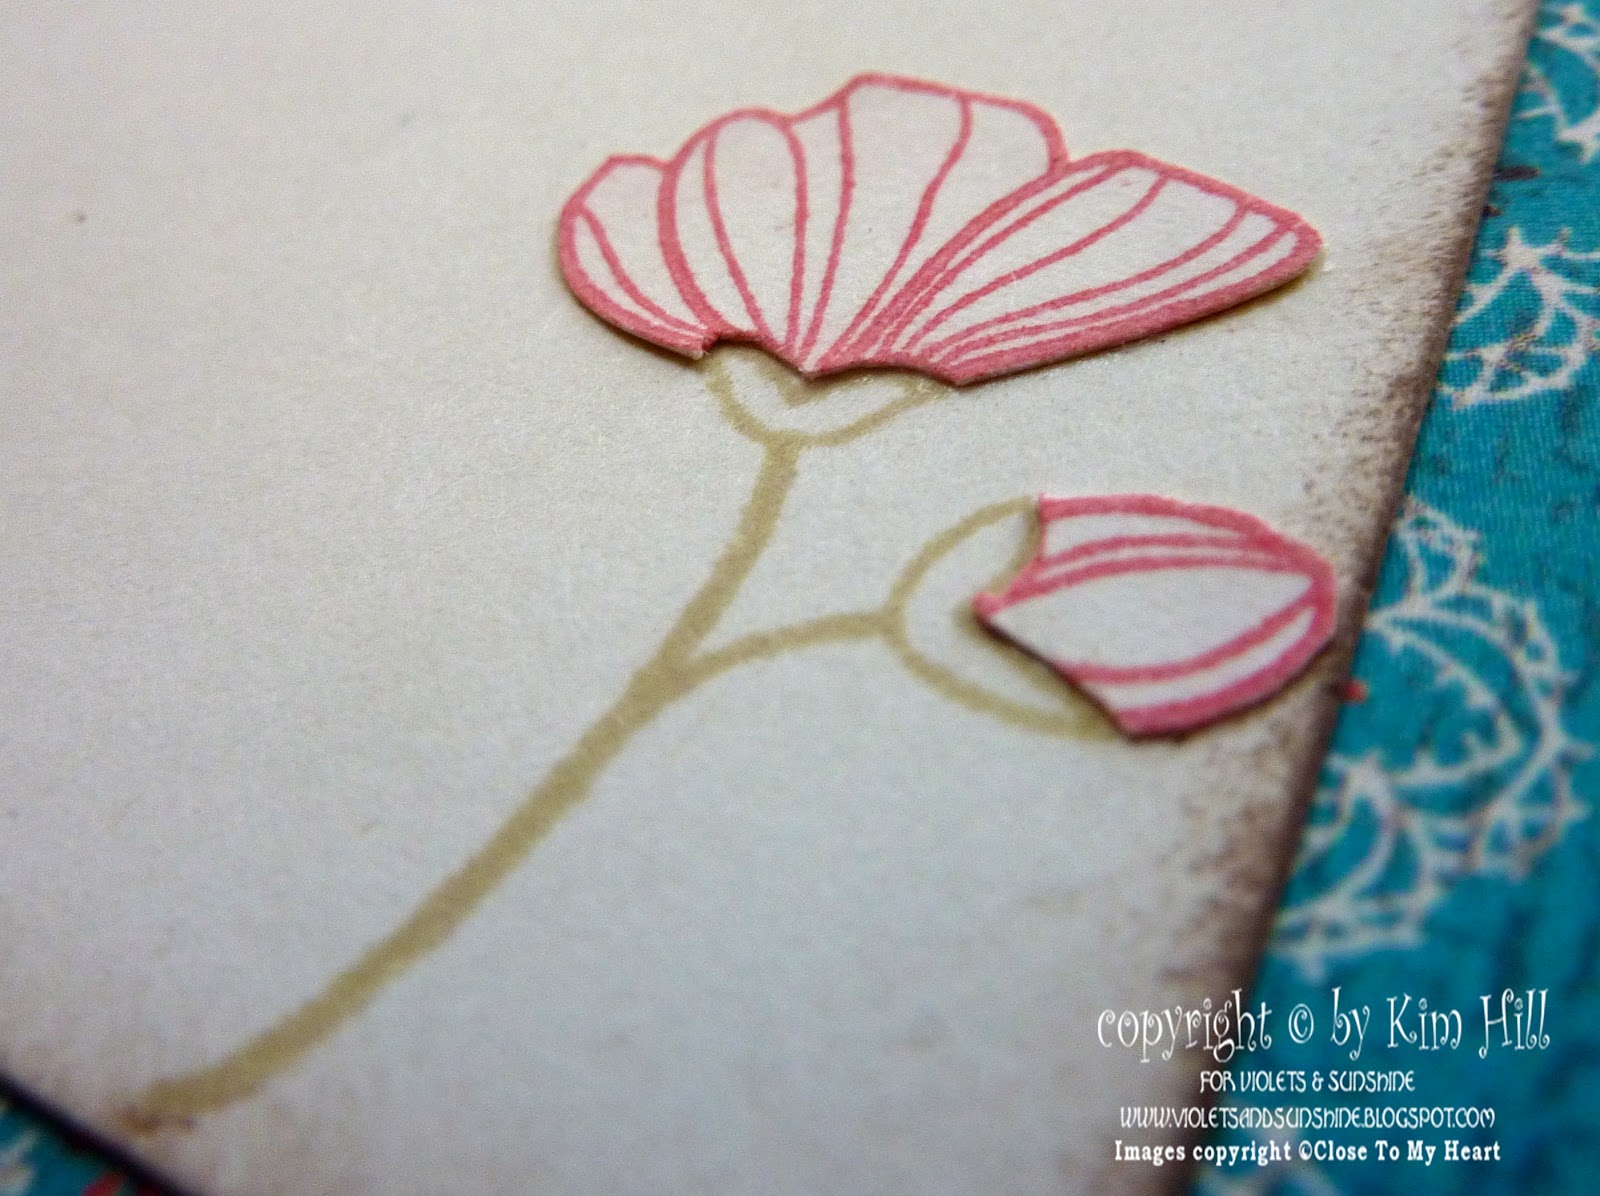
Stella B&T paper to match the card.) The sentiment and accent flower are from the Card Word Puzzle stamp set, and stamped in smoothie pigment ink and bamboo exclusive ink. I inked around the edges of everything in either chocolate exclusive ink or the smoothie pigment ink. Finally, the "18" on the inside is made with our new irresistibles houndstooth alphabet inked with smoothie pigment.


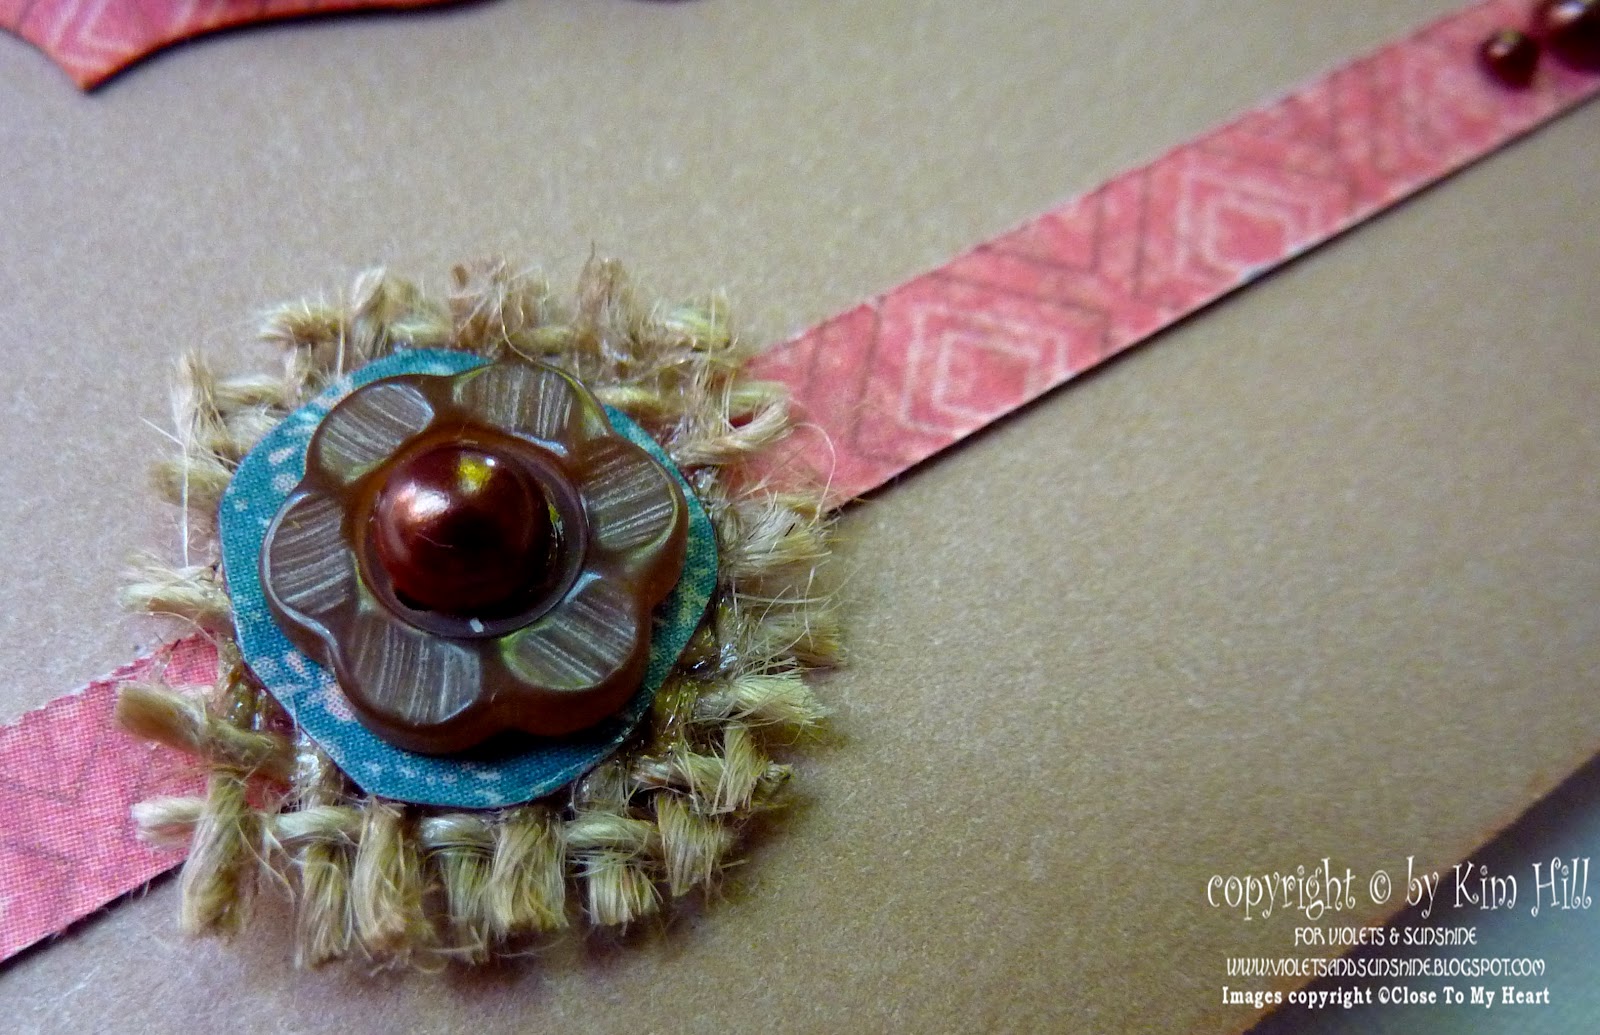
The box is found on page 74. It is cut at 1-inch, which is the height of the sides, from cocoa card stock and Stella papers. The flower embellishment and leaves are found on page 54. The flower is cut from Stella B&T and the leaves are cut from olive card stock. The flower button is from the basic assortment. I used tan pearls from the opaques mocha adhesive gems in the center of the button and then in graduating sizes on each side. The button on the front of the box is from the pink assortment, and the bakers twine is from the paradise assortment.

The next project will go to a lucky follower. I'll be doing a random drawing on Monday morning and will announce the winner on Tuesday. (I'm kinda excited because I've never done a give away before!)

This is a cute little note set that I made using the magazine box on page 47 and the card and envelope on page 73. (This idea was inspired by fellow CTMH Independent Consultant Mandy Leahy.) I cut the box at 4 1/2-inches from kraft card stock, and the cards were cut at 4 inches from the saddle and cashmere card stocks in the Clementine paper pack. The envelopes were cut at 4 inches from kraft card stock.


I decorated the box with Clementine paper using a template I made from scrap card stock. The chocolate twine is from the neutral assortment, and the wooden flower is from my stash. It's inked with twilight, sorbet and crème brulee pigment inks from the Whimsy Exclusive Inks mini pigment pad set. The canvas and button sticker is from the Clementine Workshop On The Go kit. The flags were made using the Card Word Puzzle stamp set, and were stamped in chocolate ink on sorbet card stock. Tucked in behind them is a little bit of frayed burlap ribbon.

Here are the cards that are included:


And here are a couple shown close up:


The lucky winner will also receive the new Autumn/Winter Idea Book packed with creative inspiration!


I hope you enjoyed my little smidgen of what the Artiste cartridge can do. Don't forget to post a comment and become a follower. Now hop on over to see what the über-creative Marg Van Patten has in store for you.

If you find yourself hopping off track, here's a list of the participants:

3) Kim - http://violetsandsunshine.blogspot.com (YOU ARE HERE)

24 August 2012

A Little BLOG HOP & GIVE-AWAY Sneak Peek

Just thought I'd give you a little sneak peek of what's in store for tomorrow's blog hop. You really don't want to miss it!


See you tomorrow!!